A Step-By-Step Guide
Candle making is a fascinating craft that has been practiced for centuries. What might seem like a simple endeavor actually involves a delicate balance of artistry and science. The process of creating candles from scratch can be an immensely rewarding and meditative experience. In this step-by-step guide, we’ll explore the fundamental stages of the candle making process, from choosing materials to achieving that perfect, soothing glow.
Gathering Materials
The first step in the candle making process is to gather all the necessary materials and tools. This typically includes wax (common options are paraffin, soy, or beeswax), a double boiler or microwave for melting the wax, a thermometer, wicks, fragrance oils, and candle dyes if you want to add color. It’s essential to ensure that your workspace is clean and well-ventilated for safety.
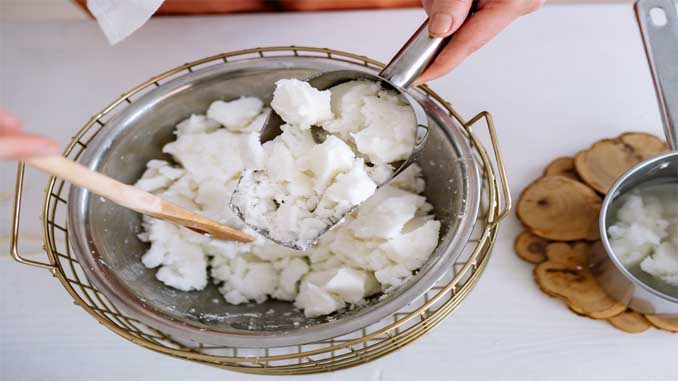
Melting The Wax
Once you have all your materials ready, it’s time to melt the wax. This can be done by using a double boiler or a microwave. If using a double boiler, place the wax in the top pot and heat it gently until it becomes a liquid. If using a microwave, cut the wax into smaller pieces, place it in a microwave-safe container, and heat it in short bursts until it’s fully melted. It’s crucial to monitor the temperature of the wax using a thermometer to prevent overheating, which can be dangerous.
Adding Fragrance And Color
If you want to create scented and colored candles, this is the stage to do so. Add fragrance oils to the melted wax and stir thoroughly to ensure an even distribution of the scent. Similarly, add candle dye to achieve your desired color. The amount of fragrance and dye you use will depend on the type and brand, so consult the instructions provided with your supplies.
Preparing The Wick
While the wax is still liquid, it’s time to prepare the wick. Cut the wick to the desired length, making sure it’s a couple of inches taller than your chosen container or mold. Secure the wick in the center of the container or mold using a wick holder or adhesive. Ensure the wick remains straight and centered as the wax cools and solidifies.

Pouring The Wax
Carefully pour the melted wax into the container or mold, ensuring it surrounds the wick. Be patient and pour slowly to minimize air bubbles and achieve a smooth, even surface. Leave a small reserve of melted wax for topping off the candle later.
Cooling And Solidifying
Allow the candle to cool and solidify. The cooling process can take several hours, so be patient. If you notice a depression forming around the wick as the wax cools, use the reserved wax to top off the candle, ensuring a level surface.
Trimming The Wick
After the candle has fully cooled and hardened, trim the wick to about a quarter of an inch above the surface. This ensures a clean and safe burn when you light the candle.
Enjoy Your Creation
Once your candle is trimmed and ready, it’s time to enjoy the soothing glow and delightful fragrance. Homemade candles make for wonderful gifts, beautiful home decor, and an artful expression of your creativity.
The candle making process is a beautiful blend of art and science, where creativity meets precision. Crafting candles from scratch allows you to personalize your candles with scents and colors of your choice, resulting in unique and enchanting creations. Whether you’re a seasoned candle maker or a beginner, the joy of lighting a candle you’ve crafted with your own hands is a deeply gratifying experience that can become a cherished hobby.